 Skip to content
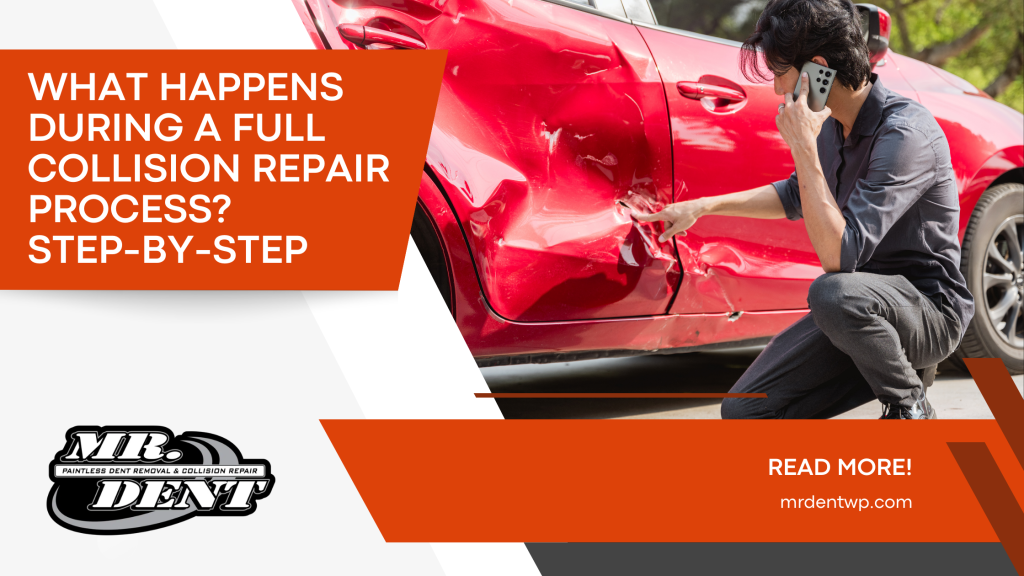
If you have never been through a serious accident before, the repair process can feel overwhelming.
You drop your vehicle off. Then what?
Many vehicle owners in Ozark, MO, wonder:
- What actually happens behind the shop doors?
- Why does collision repair take weeks sometimes?
- What are technicians doing during that time?
Understanding the full collision repair process helps reduce stress and builds confidence in the work being performed.
At Mr. Dent Collision Repair in Ozark, Missouri, transparency matters. Here is a complete step-by-step breakdown of what happens during a full collision repair.
Step 1: Initial Estimate and Damage Assessment
The process begins with a visual inspection.
An estimator examines:
- Exterior panel damage
- Obvious structural impact
- Safety system warnings
- Paint damage
- Alignment concerns
At this stage, only visible damage can be documented. That is why initial estimates are sometimes adjusted later.
You can learn more about professional collision repair services and what they involve before your vehicle even enters production.
Step 2: Insurance Coordination
If insurance is involved, the repair facility submits the estimate for review.
The insurance company may:
- Approve the estimate as written
- Request clarification
- Send an adjuster
- Approve partial repairs pending disassembly
Missouri law allows you to choose your repair shop. The insurer cannot require you to use a specific facility.
The shop then schedules your repair once approval and parts planning are complete.
During this phase, communication is critical. The repair facility often works directly with the insurance adjuster to explain repair procedures, manufacturer requirements, and any safety considerations that may affect the estimate. If additional documentation, such as photos or diagnostic reports, is needed, the shop provides that information to help move the claim forward.
If supplements are required after disassembly, they are submitted for approval before work continues. While this can extend timelines, it ensures that all necessary repairs are properly authorized and covered. Clear coordination between the shop, insurer, and vehicle owner helps prevent misunderstandings and keeps the process as smooth and transparent as possible.
Step 3: Vehicle Disassembly and Blueprinting
Once your vehicle arrives for repair, the real work begins.
Technicians fully disassemble the damaged areas. This process is called blueprinting.
Blueprinting allows the team to:
- Identify hidden structural damage
- Locate broken brackets or sensors
- Inspect suspension components
- Document all necessary repairs
Modern vehicles are engineered with crumple zones and layered structural systems. Damage beneath panels is common even in moderate accidents.
According to the National Highway Traffic Safety Administration, proper structural repair is essential to restore crashworthiness and vehicle safety systems.
If additional damage is discovered, a supplement is submitted to insurance for approval.
Step 4: Parts Ordering and Planning
Once the full repair plan is approved, parts are ordered.
This may include:
- OEM panels
- Reinforcement bars
- Brackets and mounting components
- Sensors and cameras
- Glass components
As an OEM-certified repair facility, manufacturer repair procedures are followed to ensure your vehicle is restored to factory standards.
Parts availability can impact the timeline. Some components, especially on newer vehicles, may require shipping time.
Step 5: Structural and Frame Repair
If structural damage exists, the vehicle is placed on a frame rack.
Using computerized measuring systems, technicians:
- Measure factory reference points
- Realign frame components
- Correct structural deviations
- Verify symmetry
This step ensures the vehicle’s crash structure is restored properly.
The Insurance Institute for Highway Safety emphasizes the importance of maintaining structural integrity for occupant protection in future collisions.
Skipping or rushing this stage compromises safety.
Step 6: Body Repair and Panel Replacement
After structural corrections are complete, body technicians repair or replace damaged panels.
This may involve:
- Dent repair
- Panel replacement
- Welding operations
- Surface preparation
Each repair follows the manufacturer’s welding and bonding procedures to maintain structural strength.
At this stage, the vehicle begins to look whole again.
Step 7: Paint Preparation and Refinishing
Refinishing is a multi-stage process.
The steps include:
- Cleaning and masking
- Primer application
- Sanding and surface leveling
- Base coat color matching
- Clear coat application
- Controlled curing cycle
Color matching is critical. Modern paints use metallic and pearl finishes that require precise blending into adjacent panels.
Professional auto body repair services ensure paint durability and appearance meet factory expectations.
Step 8: Reassembly and System Calibration
After paint curing, technicians begin reassembly.
Components reinstalled include:
- Trim pieces
- Lighting assemblies
- Sensors
- Interior panels
- Glass
If Advanced Driver Assistance Systems were affected, recalibration is required.
ADAS systems may include:
- Lane departure warning
- Adaptive cruise control
- Forward collision warning
- Blind spot monitoring
Precise recalibration ensures these safety systems function as intended.
Step 9: Post-Repair Scan and Quality Control
Before delivery, the vehicle undergoes:
- Post-repair diagnostic scanning
- Safety system verification
- Panel alignment checks
- Road testing when necessary
- Final quality inspection
Every repair should meet the manufacturer’s specifications and safety standards before keys are returned.
During this final stage, technicians confirm that all electronic systems communicate properly and that no warning lights remain active. Advanced safety features such as airbags, parking sensors, and driver assistance systems are verified for proper operation. Body panels are inspected for consistent gaps and alignment to ensure both appearance and structural accuracy. Paint finish is reviewed under proper lighting conditions to confirm color match and surface quality. This comprehensive quality control process ensures the vehicle is safe, reliable, and ready for confident driving.
How Long Does the Full Collision Repair Process Take?
Repair timelines depend on:
- Severity of damage
- Parts availability
- Insurance approvals
- Structural repair complexity
- Paint curing time
Minor repairs may take several days. Moderate repairs often take one to three weeks. Major structural repairs can take several weeks or longer.
Proper repair takes time because safety and structural integrity matter.
In addition to these factors, scheduling and production workflow inside the repair facility also influence timelines. Vehicles move through multiple departments, including structural repair, bodywork, refinishing, reassembly, and quality control. Each phase must be completed correctly before the next begins. Delays in one stage can affect the overall schedule.
Weather and supply chain conditions can also impact parts delivery, especially for newer vehicles that require specialized components or sensors. While waiting can be frustrating, every step in the process is designed to ensure the vehicle is returned to you in safe, pre-accident condition. Rushing repairs may save a few days, but thorough, manufacturer-approved procedures protect you for years to come.
Cost Transparency: Why Estimates Change
Initial estimates are based only on visible damage.
Once disassembly occurs, hidden issues may be discovered.
This is normal and does not mean something was missed. It reflects the complexity of modern vehicle construction.
The goal is accuracy and safety, not speed.
Modern vehicles are built with layered components, reinforcement bars, sensors, wiring harnesses, and structural materials that are not visible until panels are removed. Even a moderate collision can cause internal damage behind bumpers, inside quarter panels, or within frame sections that cannot be seen during an initial walkaround inspection.
When technicians perform a full disassembly, they are verifying that every affected component is identified and repaired properly. This process protects you from incomplete repairs and future problems. If additional damage is found, a supplement is submitted to the insurance company to update the repair plan.
While it can be frustrating to see an estimate change, this adjustment ensures that nothing is overlooked. Transparent communication during this stage is essential. A thorough repair plan helps restore your vehicle’s structural integrity, safety systems, and long-term durability.
FAQs About the Collision Repair Process in Ozark, MO
Q: Why does my estimate change after disassembly?
A: Hidden damage is often discovered once panels are removed. Supplements are submitted to insurance to cover additional necessary repairs.
Q: How do I know repairs meet manufacturer standards?
A: Choosing an OEM-certified facility ensures manufacturer repair procedures and tools are used.
Q: What is a post-repair scan?
A: A diagnostic scan is performed after repairs to verify that electronic and safety systems are functioning properly.
Q: Can I choose my own collision repair shop in Missouri?
A: Yes. You have the legal right to select the repair facility of your choice.
Q: Why does paint curing take time?
A: Proper curing ensures durability, adhesion, and long-term finish protection.
Q: How long will my vehicle be in the shop during a full collision repair?
A: Repair time depends on the severity of damage, parts availability, and insurance approvals. Minor repairs may take several days, while major structural repairs can take several weeks.
Q: What is blueprinting in collision repair?
A: Blueprinting is the full disassembly and detailed inspection of damaged areas to identify hidden issues and create a complete repair plan before work begins.
Q: Will my vehicle drive the same after collision repair?
A: When repairs are performed according to manufacturer procedures and structural measurements are verified, your vehicle should perform and handle as it did before the accident.
Q: Do safety systems need to be recalibrated after an accident?
A: Yes. If sensors or cameras are disturbed during the collision or repair process, Advanced Driver Assistance Systems must be recalibrated to ensure they function correctly.
Final Thoughts: Transparency Builds Confidence
The full collision repair process is detailed for a reason.
Each step protects:
- Structural integrity
- Safety systems
- Vehicle value
- Long-term durability
At Mr. Dent Collision Repair in Ozark, MO, repairs are performed carefully, methodically, and according to manufacturer standards.
If you have questions about your vehicle’s repair process, contact our team through our contact page.
Because when you drive away, you are driving our reputation.
